How to create an integration with Resimpli CRM using Zapier
In this guide, you’ll learn how to create an integration with Resimpli CRM and Real Estate Bees
Step 1. Click the "+ Create Zap" button.
Step 2. Click the "Trigger" section.
Step 3. Select the "Webhooks by Zapier" option.
Step 4. Under “Event”, choose the “Catch Hook” option from the dropdown, and click “Continue”.
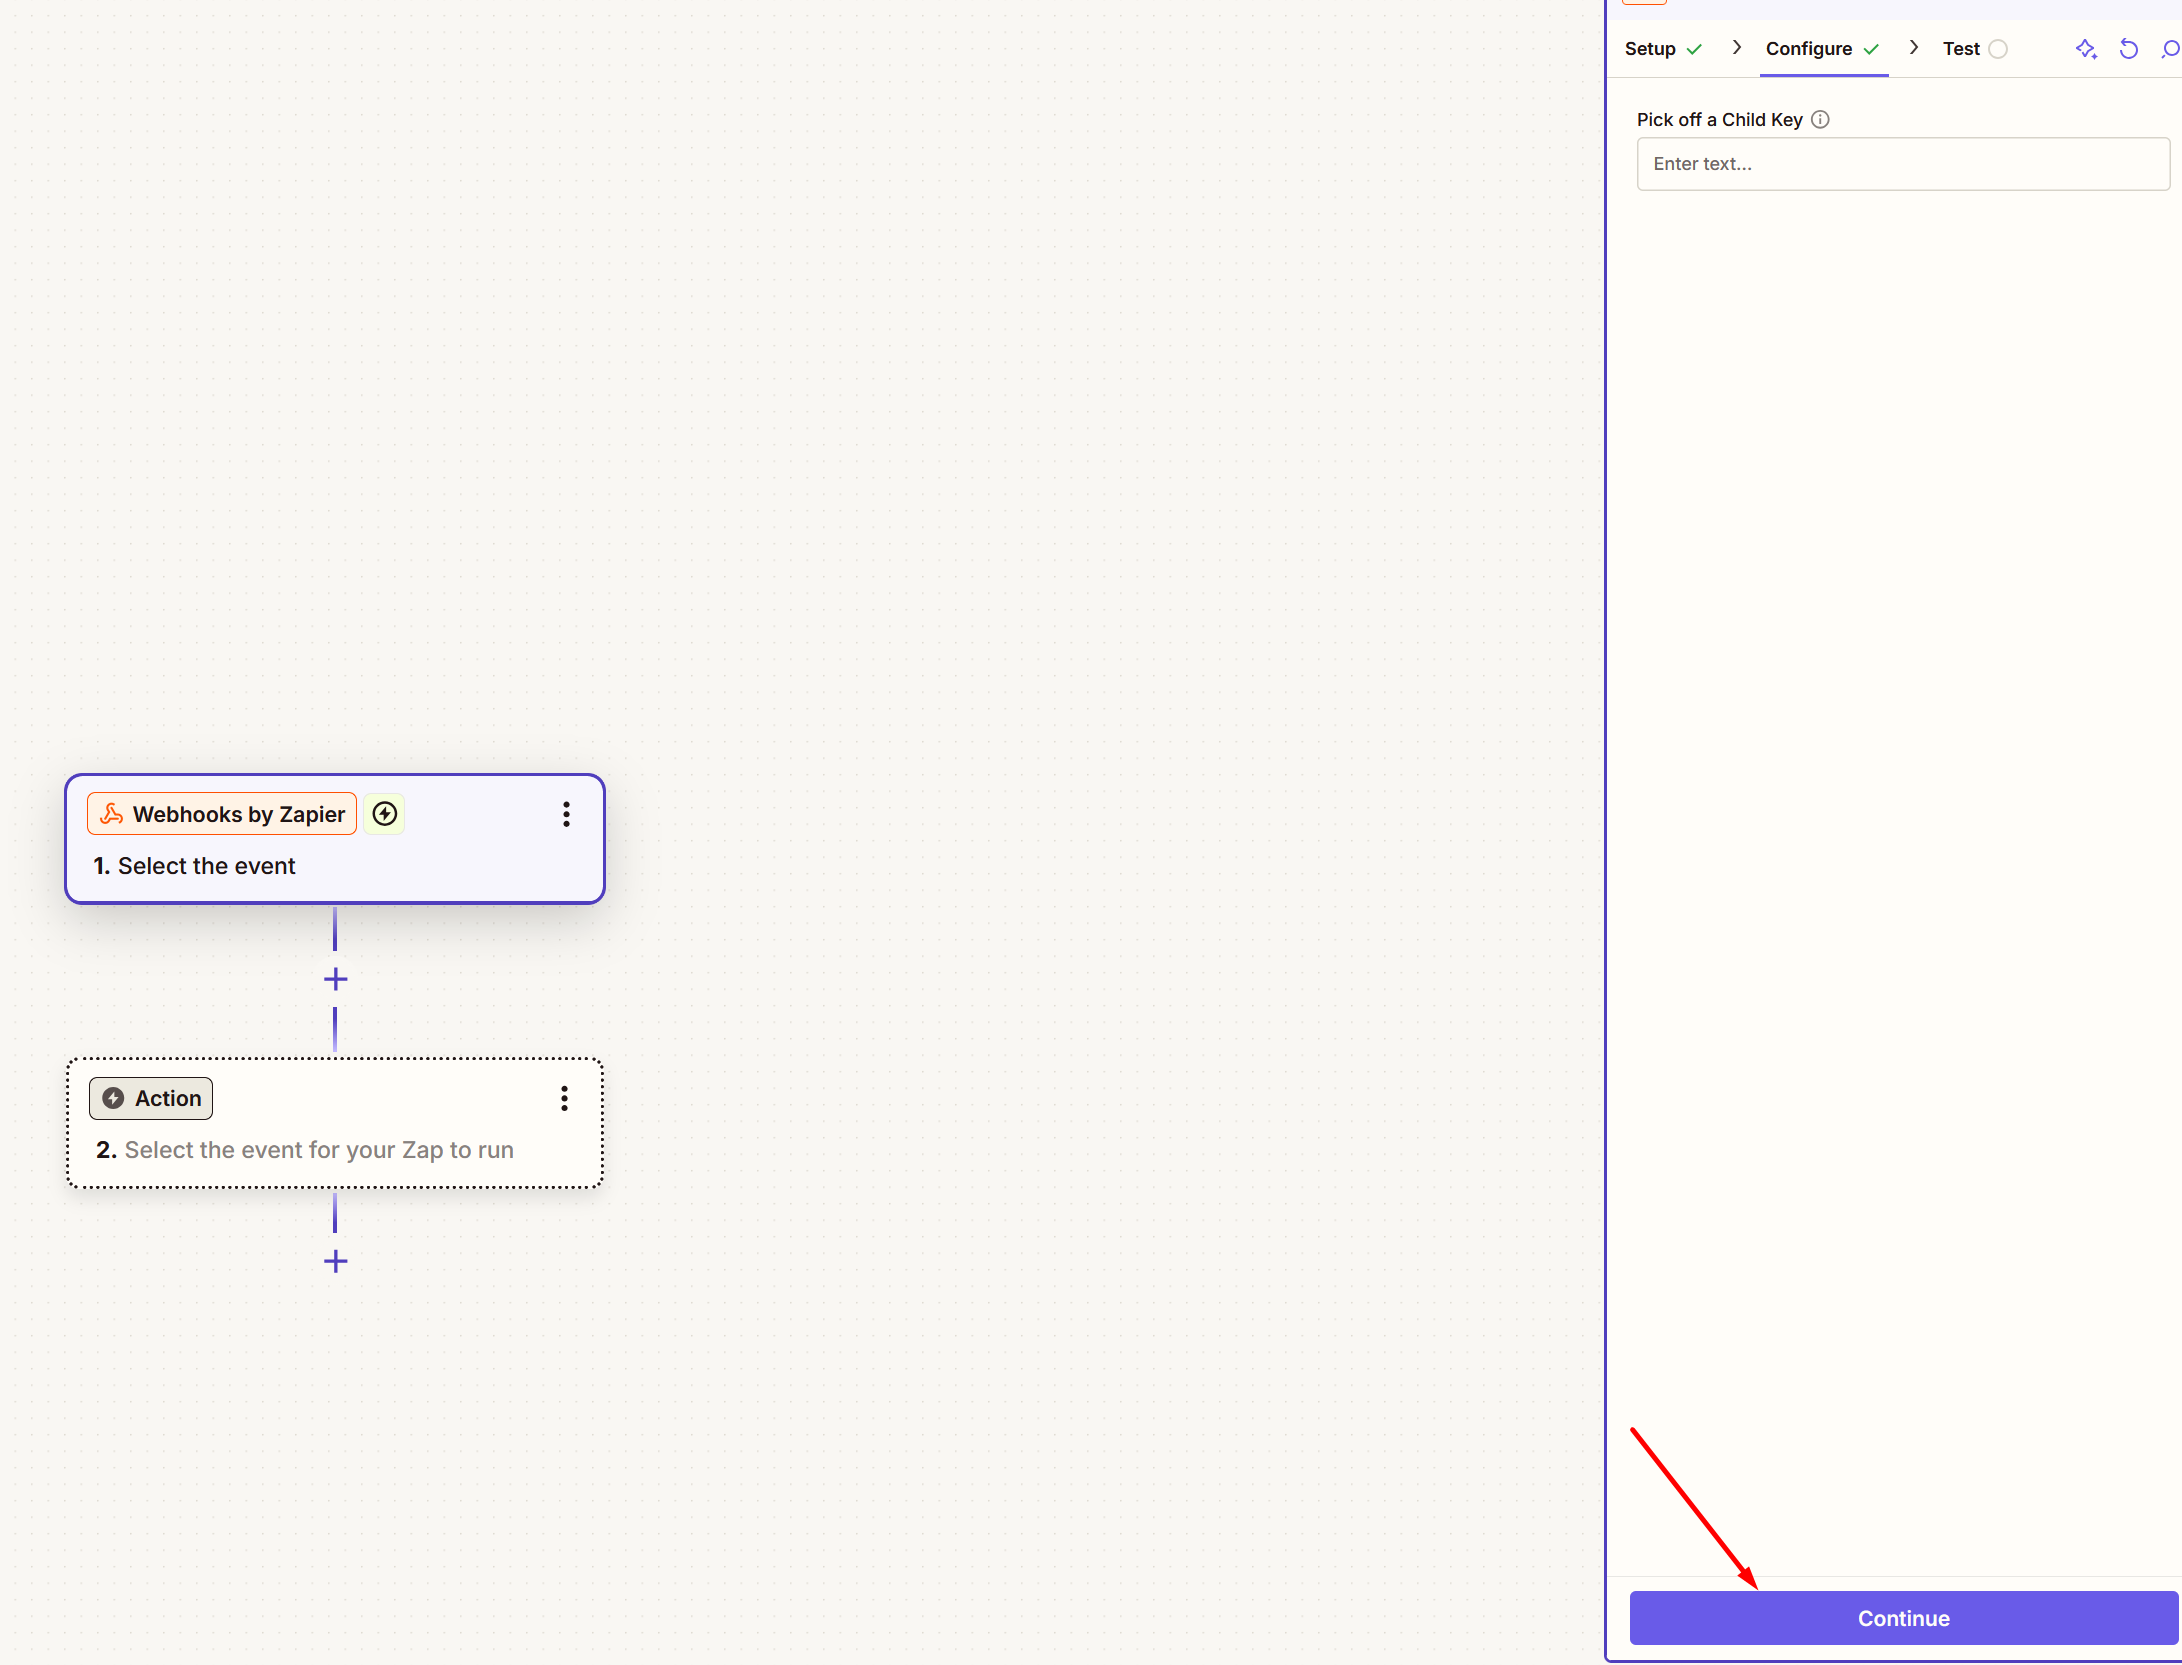
Step 5. Do not enter anything under “Pick off a Child Key”. Skip this field and click “Continue” again
Step 6. Your Zapier webhook URL has now been generated.
Step 7. Go to your Real Estate Bees (REB) account:
7.1 Open the delivery settings and click CREATE INTEGRATION button.
7.1 Open the delivery settings and click CREATE INTEGRATION button.
7.2 Copy and paste your webhook URL generated through Zapier into the dashboard.
Step 8. Your Zapier setup has now been completed in the dashboard! Now it’s
time to test the integration. To send test fields to Zapier, click the
“SEND TEST REQUEST” button in your dashboard.
Step 8. Go back to your Zapier zap setup click “Test trigger” to test that the leads are coming into Zapier from the dashboard.
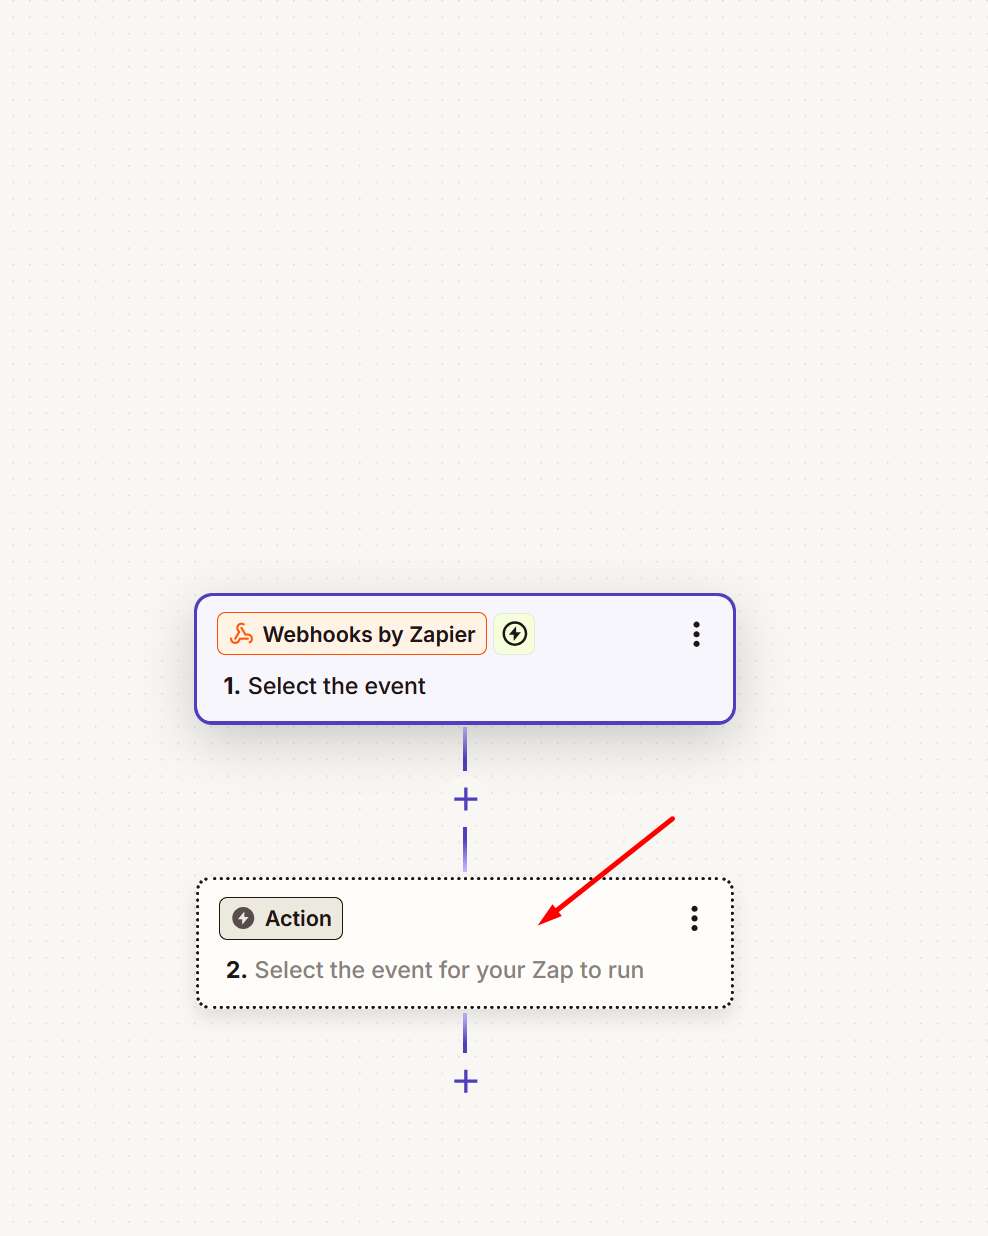
Step 9. Once you see that the lead fields are coming into Zapier, it is time to
set up your Zapier action. An action is an event a Zap performs after it
starts. Here you will search Resimpli CRM
Step 10. Here you can see Resimpli CRM as an action in Zapier. Click ‘Action Event’ and choose ‘Create Lead.’
Step 11. Click Account, the API key required for configuration is displayed.
Step 12. To get the API key, go to the Resimpli dashboard and click the gear icon (Settings) and then click 'Webhooks/API Token'
Step 13. In the API Token tab, you can see the API Token information. Copy it and paste it into your Zapier account as described in Step 11.

Step 14. In this step, you can map the lead’s information to the corresponding fields in Resimpli CRM and then publish the Zap
What should I learn next?
Related Articles
How to set up your Zapier integration using Webhooks by Zapier
In this article you will learn how to generate a Zapier webhook url so that you can sync lead to your CRM of choice. To get started, follow these simple steps: 1) Log in to your Real Estate Bees account using your email address and password. 2) Click ...How to set up an integration to automatically sync your leads to your CRM
Connect a lead management system of your choice to the Real Estate Bees platform by setting up a simple integration to automatically sync your leads to your CRM! In this article you will learn how to set up an integration to 6,000+ apps using Zapier. ...How to Create a Webhook in GoHighLevel (GHL) Using Automation
In this guide, you’ll learn how to create a webhook URL in GoHighLevel using Automation (Workflow) to send lead data to your CRM. Step 1. Go to Automation Step 2. Create a New Workflow Click “+ Create Workflow” Choose “Start from Scratch” Give your ...List of Real Estate Bees platform's benefits
If you've just discovered the Real Estate Bees platform or you heard about it from someone, you're probably wondering what it's about and how it can help you grow your real estate business. In this article you will learn about all the core features ...How do I set up InstaClaim to automatically purchase and instantly receive leads?
In this article you will learn how to select and set up InstaClaim which allows you to automatically purchase leads that match your criteria as soon as they hit our Lead Marketplace. Below are the two Lead InstaClaim Plans currently available, and a ...